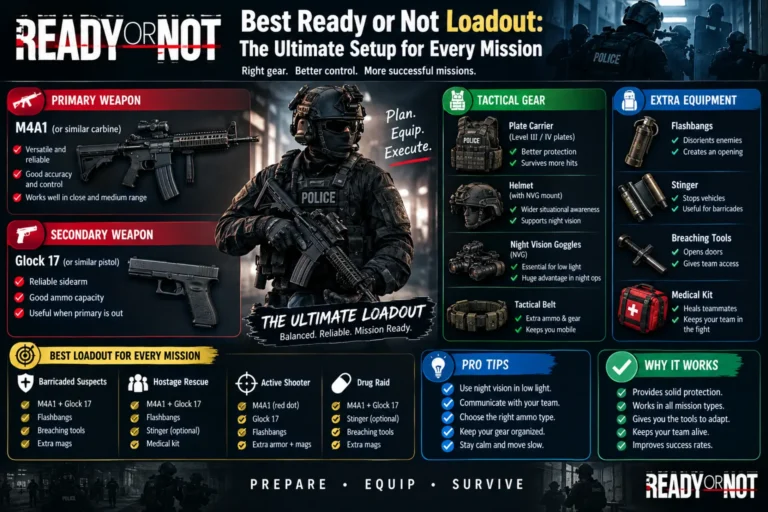
The best Ready or Not loadout gives you firepower, protection, and useful tactical tools. The right setup also depends on the mission. Tight rooms need different gear than open areas. Your role also changes what you should carry.
A good loadout should stay simple and flexible. You want a reliable primary weapon first. Then, add a dependable sidearm and useful attachments. Your armor should match the danger level. Finally, choose tools that help you clear rooms safely.
For most players, a balanced rifle setup works well across many missions. Current guides commonly recommend rifles such as the MK18 and GA416.
This guide breaks down each part of your kit. It also explains when you should change your setup.
Quick Summary: Best Ready or Not Loadout
- Primary: MK18 or GA416
- Optic: MICROT2 or a holographic sight
- Muzzle: Suppressor or brake, depending on your goal
- Grip: Combat Grip or Vertical Grip
- Light: M600V Flashlight
- Sidearm: USP45, G19, or another reliable pistol
- Armor: Heavy Armor with Ceramic plates
- Coverage: Front and Back for general missions
- Long Tactical: Mirror Gun for safer room checks
- Headwear: Ballistic Mask or mission-specific equipment
- Best approach: Match your gear to the map and mission
Ready or Not lets players customize weapons, armor, and tactical equipment around each mission.
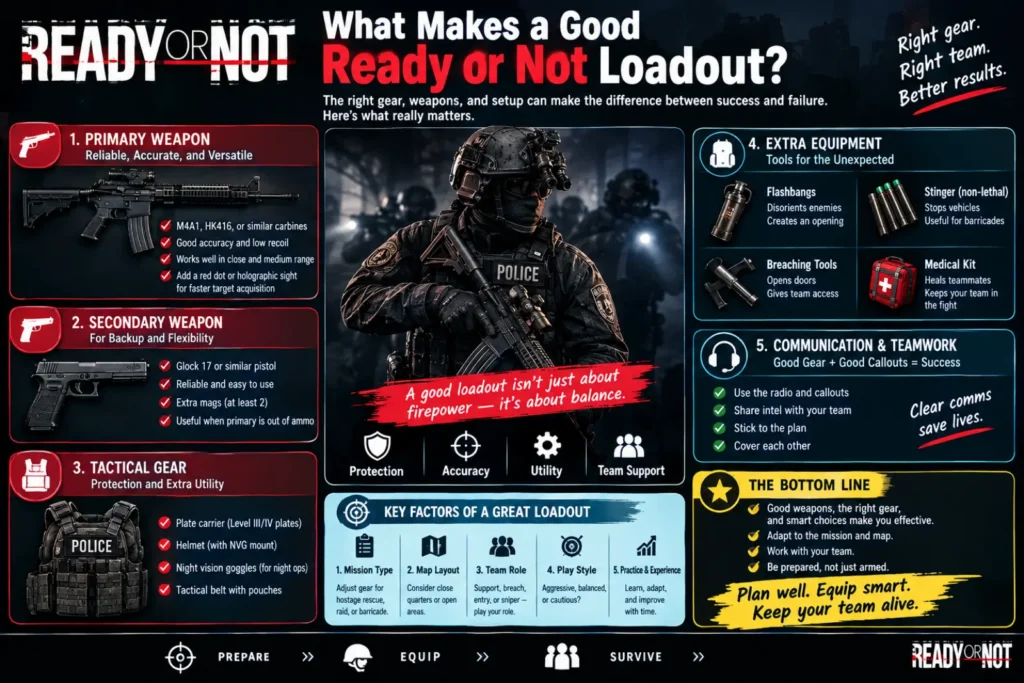
What Makes a Good Ready or Not Loadout?
A good loadout solves several problems at once.
First, your primary weapon must work at common engagement ranges. Second, your sidearm should handle emergencies. Third, your armor should protect you without hurting movement too much.
Your tactical equipment matters just as much.
A mirror can reveal threats before you enter. Door wedges can control enemy movement. Flashbangs can help during room entries.
The goal is not to carry everything.
The goal is to carry the right tools.
Best Primary Weapon for Most Players
The MK18 and GA416 are strong general-purpose choices.
Both provide rifle performance while remaining useful indoors. They also work at medium distances. That flexibility makes them useful on many maps.
Recommended MK18 setup
- Optic: MICROT2 or holographic sight
- Muzzle: Suppressor
- Underbarrel: Combat Grip
- Overbarrel: M600V Flashlight
The Combat Grip can improve recoil control and handling. The flashlight helps inside dark rooms.
Recommended GA416 setup
- Optic: Holographic sight
- Muzzle: Suppressor or muzzle brake
- Grip: Combat Grip
- Light: M600V Flashlight
The GA416 works well when you want a balanced rifle.
Why choose a rifle?
Rifles give you more flexibility than many close-range weapons. You can fight inside rooms and across longer sight lines.
However, rifles are not always the best choice.
A tight map may reward a shorter weapon. A non-lethal mission may need completely different equipment.
Best Sidearm for Ready or Not
Your pistol becomes important when your primary runs empty.
The USP45 has appeared in several beginner-focused loadout recommendations. The G19 and other pistols can also fill this role.
A simple pistol setup can include:
- A reliable optic, if preferred
- A suppressor where useful
- A laser or flashlight
- Enough spare magazines
Do not spend too much time optimizing your pistol.
Your primary weapon does most of the work.
Best Armor Setup
Armor creates a trade-off between protection and movement.
Heavy armor provides more protection but can reduce mobility. Lighter armor allows faster movement but offers less protection.
For a general-purpose setup, Heavy Armor with Ceramic plates is a common recommendation.
Front and back coverage provides protection from common firing angles.
However, your mission should guide your final choice.
Use lighter armor when movement matters more. Use heavier protection when you expect intense firefights.


7
Best Attachments for Your Weapons
Attachments can change how a weapon handles.
The best choice depends on your role and map.
Optics
A compact red-dot or holographic optic works well for many indoor fights.
The MICROT2 is commonly recommended for general use. Other optics can suit players who prefer different sight pictures.
Grips
The Combat Grip can improve horizontal recoil and handling.
The Vertical Grip focuses more on vertical recoil control.
Choose the grip that matches the weapon and your shooting style.
Flashlights
A flashlight helps when rooms have poor lighting.
The M600V is one commonly used option.
However, light can also reveal your position. Use it with purpose.
Suppressors
Suppressors can suit players who want a quieter weapon setup.
They are not mandatory for every mission.
A muzzle brake may make more sense when recoil control matters more.
Best Tactical Equipment
Your tactical tools can decide whether a room entry succeeds.
The Mirror Gun is especially useful for checking rooms before entry. Several guides recommend it as a flexible long tactical option.
Other useful equipment includes:
- Flashbangs
- CS gas
- Door wedges
- C2
- Tactical shields
- Pepper spray
- Lockpick tools
Choose based on your objective.
For example, a hostage mission may reward careful room clearing. A high-risk assault may need more defensive tools.
Best Loadouts by Mission Type
There is no single setup for every situation.
Here is a simple way to adjust your kit.
| Mission type | Primary focus | Armor | Useful equipment |
|---|---|---|---|
| General missions | MK18 / GA416 | Heavy Ceramic | Mirror Gun, flashbangs |
| CQB | Short rifle / SMG | Light or Heavy | Flashbangs, wedges |
| Open areas | Rifle | Heavy Ceramic | Optic, longer-range tools |
| Non-lethal | Pepperball / beanbag options | Flexible | Arrest-focused tools |
| Night missions | Rifle with suitable sight | Flexible | NVG, IR laser |
| Heavy assault | Powerful rifle | Heavy Ceramic | Extra protection, breaching tools |
The exact setup should follow the map layout and mission goals.
Best CQB Loadout
Close-quarters combat changes the priorities.
You want fast handling and quick target acquisition.
Consider:
- Short rifle or SMG
- Compact optic
- Flashlight
- Light or heavy armor
- Flashbangs
- Door wedges
The MP7, P90, and similar compact weapons can suit close-range roles. Current loadout references also list several CQB-focused builds.
Avoid carrying unnecessary equipment.
Every extra choice can slow your decision-making.
Best Non-Lethal Loadout
Non-lethal missions need a different mindset.
Your goal is to control suspects and make arrests.
Options can include:
- Pepperball weapons
- Beanbag shotguns
- Pepper spray
- Flashbangs
- Door wedges
- Restraints
Some current guides recommend pepperball weapons or beanbag shotguns for arrest-focused missions.
Do not treat a non-lethal mission like a normal assault.
Patience becomes more important.
Common Loadout Mistakes
1. Using the same gear everywhere
One setup cannot solve every map.
Change your equipment when the mission changes.
2. Carrying too much ammunition
Extra magazines take slots.
Give more space to tools you actually use.
3. Ignoring the map
Look at the environment before deployment.
Dark areas may need different equipment. Open maps may favor different weapons.
4. Using heavy armor without considering movement
Heavy armor offers protection.
But slower movement can change how you clear rooms.
5. Choosing attachments randomly
Every attachment should have a purpose.
Pick your optic, grip, muzzle, and light based on your role.
Tips for Building a Better Loadout
Start with your mission objective.
Then ask four simple questions:
Where will I fight?
Think about rooms, hallways, outdoor areas, and sight lines.
How dangerous are the suspects?
More dangerous threats may justify more protection.
Do I need lethal or non-lethal equipment?
Your objective should guide your weapon choice.
What problem will each tactical item solve?
If you cannot explain why you carry an item, reconsider it.
Ready or Not is built around planning and tactical choices. The game gives players many weapons and tools for different situations.
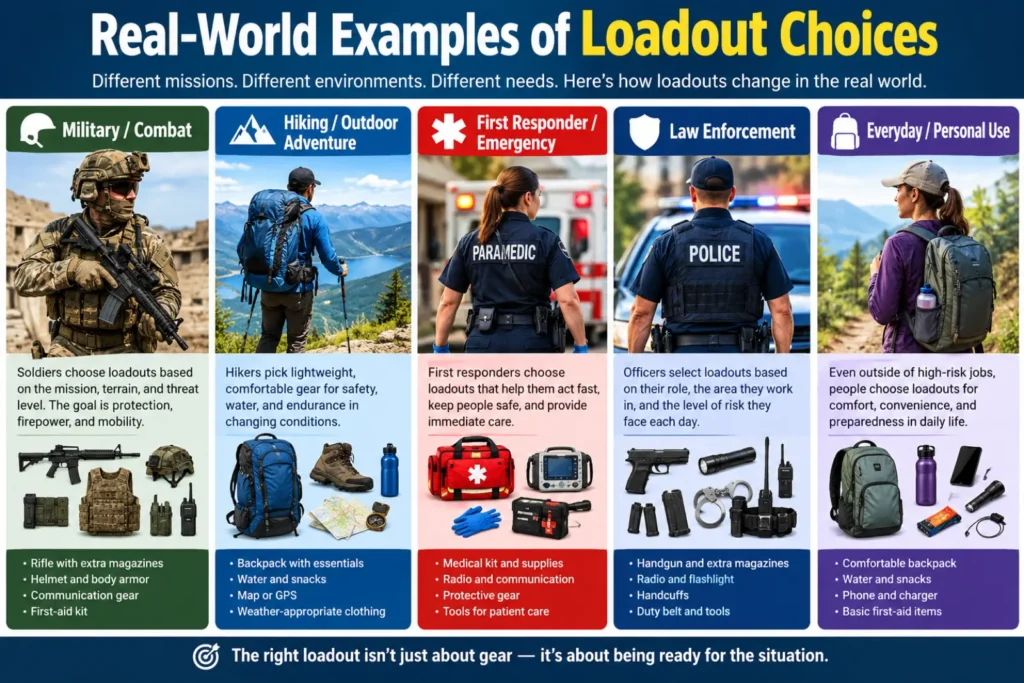
Real-World Examples of Loadout Choices
Imagine a mission with many small rooms.
A compact rifle, flashlight, and flashbangs make sense.
Now imagine a large warehouse.
A rifle with a useful optic becomes more valuable. You may also want stronger protection.
For a dark mission, visibility becomes a bigger concern.
Night vision and compatible equipment may help.
These examples show why the best Ready or Not loadout depends on context.
The strongest setup on one map may feel awkward on another.
Ready or Not Loadout: Simple Comparison
| Equipment | General use | CQB | Long range | Non-lethal |
|---|---|---|---|---|
| Assault rifle | High | High | High | Low |
| SMG | High | High | Medium | Low |
| Shotgun | Medium | High | Low | Medium |
| Heavy armor | High | Medium | High | Medium |
| Light armor | High | High | Medium | High |
| Mirror Gun | High | High | Medium | High |
| Flashbang | High | High | Medium | High |
| Door wedge | High | High | Medium | High |
These ratings describe common use cases, not universal performance scores.
Synonyms and Related Search Terms
Use these related phrases naturally when researching or building your setup:
- Ready or Not best loadout
- best Ready or Not weapons
- Ready or Not weapon loadout
- Ready or Not beginner loadout
- Ready or Not tactical gear
- Ready or Not best attachments
- Ready or Not armor setup
- Ready or Not rifle build
- Ready or Not CQB loadout
- Ready or Not non-lethal loadout
- Ready or Not best gun
- Ready or Not equipment guide
Avoid forcing every variation into your article.
Natural language matters more than repetition.
Expert Insights for Building a Better Loadout
Experienced players usually adapt instead of using one fixed setup.
That principle matters because missions have different layouts and threats.
Start with a balanced rifle.
Then adjust your armor.
Next, change your tactical equipment.
Finally, tune your attachments.
This approach keeps your setup simple.
It also helps you understand what each item actually does.
Current community and guide sources show several viable rifle-based setups. They also emphasize adapting equipment to the mission.
Remember that exact weapon balance can change after game updates.
Check current patch notes or in-game behavior before treating an old recommendation as permanent.
Frequently Asked Questions
What is the best Ready or Not loadout?
A balanced rifle setup works well for many missions. The MK18 or GA416 makes a strong starting point.
What is the best rifle in Ready or Not?
The answer depends on the map and play style. MK18 and GA416 builds are common general-purpose choices.
What armor should I use in Ready or Not?
Heavy Ceramic armor is a common balanced choice. Lighter armor can help when mobility matters more.
Is the MK18 good in Ready or Not?
Yes. The MK18 suits close and medium-range fights. It also works well as a general-purpose rifle.
What is the best tactical item?
The Mirror Gun is highly useful because it lets you inspect areas before entry.
Should I use a suppressor?
A suppressor can suit players who want a quieter rifle. Other muzzle choices may suit recoil-focused builds.
What is the best CQB weapon?
Compact rifles and SMGs can work well in CQB. The best choice depends on your handling preference and mission.
Should I use heavy or light armor?
Heavy armor gives more protection. Light armor improves mobility. Choose based on the mission.
Conclusion
The best Ready or Not loadout should balance weapons, protection, and tactical tools.
A strong general setup starts with the MK18 or GA416. Add a reliable optic and a useful grip. A flashlight can help in dark rooms. Heavy Ceramic armor provides a solid protection-focused option.
Then, adjust your gear for the mission.
Use the Mirror Gun when room checks matter. Carry flashbangs when quick entries are important. Consider lighter armor when movement matters more. Choose non-lethal weapons when arrests are the priority.
Most importantly, do not treat one setup as perfect.
Ready or Not rewards planning and adaptation. Your map, objective, threats, and role should guide your final choices.